...
| Tip |
|---|
This functionality is available from AgencyCloud version 12.159+ |
Document importer basics
...
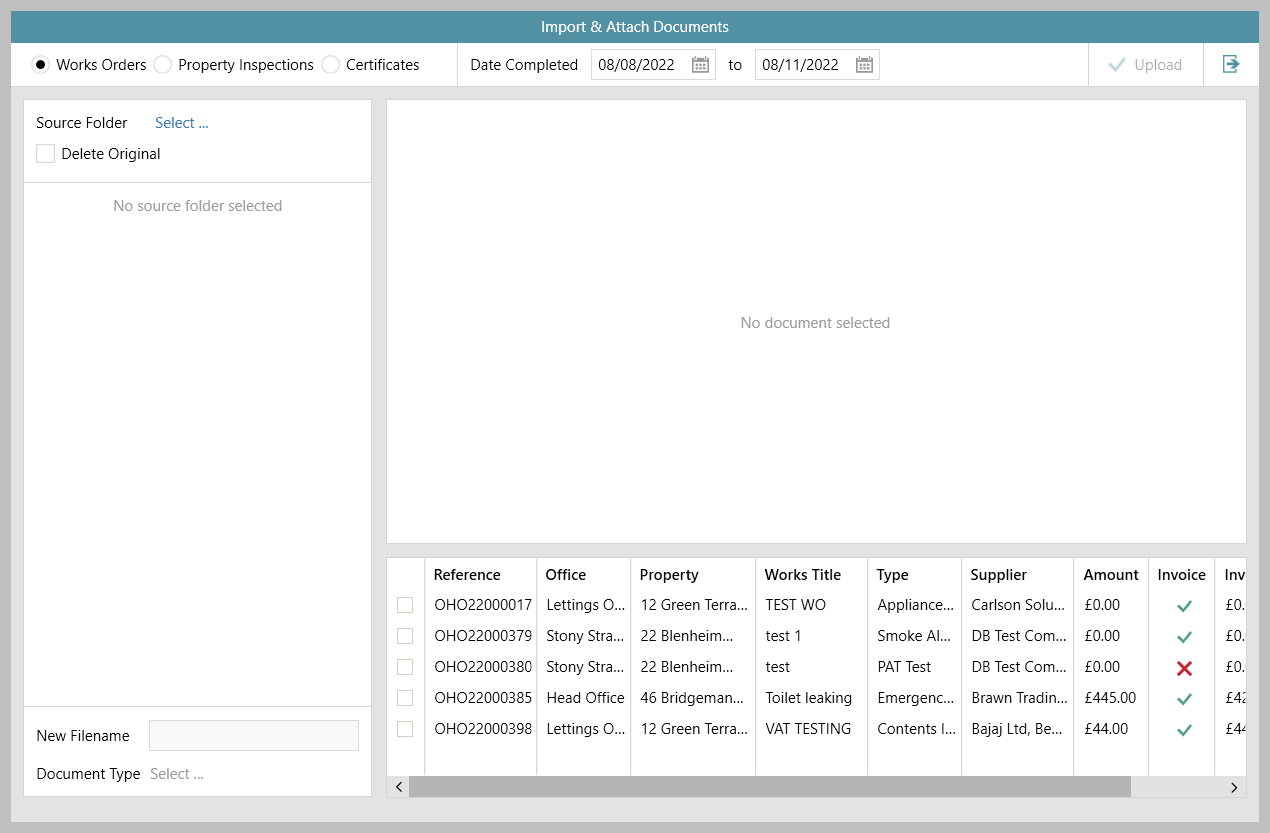
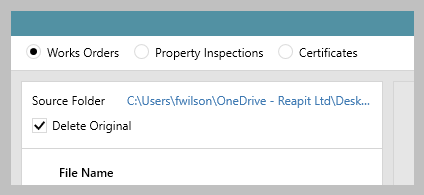
1. View completed works orders with no posted supplier invoice Select Works Orders filter (top left):
 | ||||
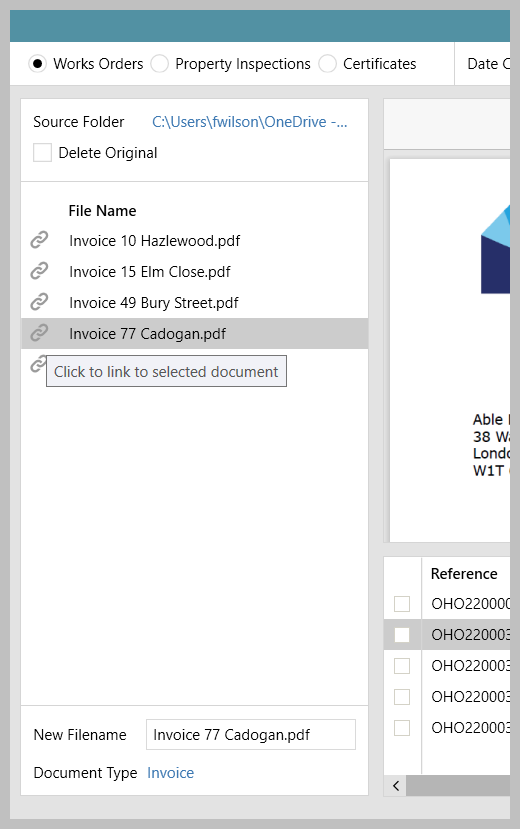
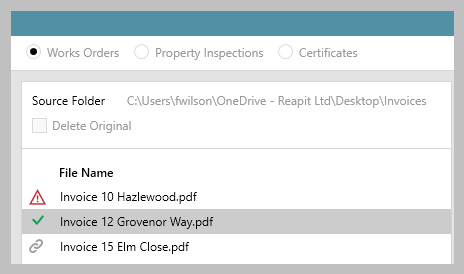
2. Upload documents to the importer & change filename/type Locate the folder where the PDF documents are stored:
 The filename & type can be changed when it is uploaded:
| ||||
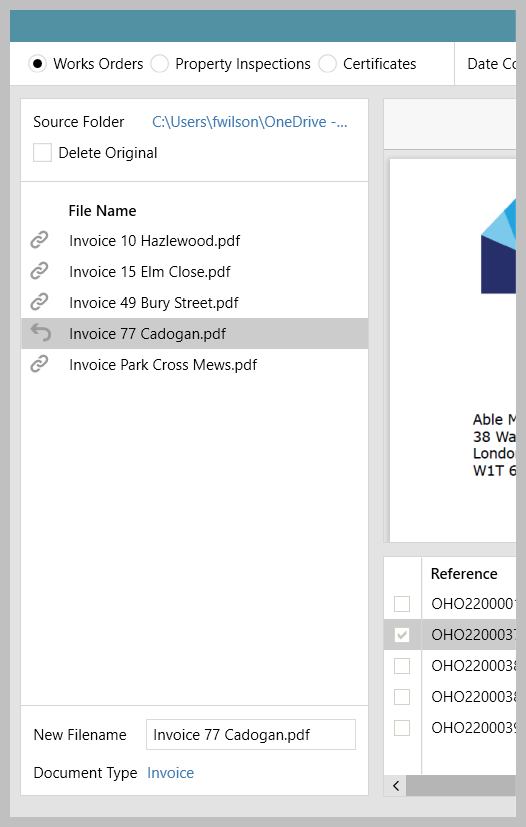
3. Link document to works order invoice In panel bottom right:
If you wish to link more than one document to the selected works order:
| ||||
4. Upload documents to works order invoices in bulk
If you have more works orders to link documents to:
 When all required works orders are linked to documents:
|


...
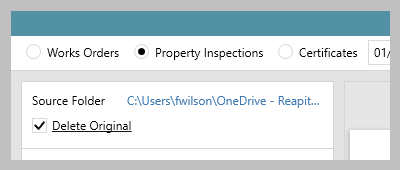
1. View PI appointments to upload draft/final reports Select Property Inspections filter (top left):
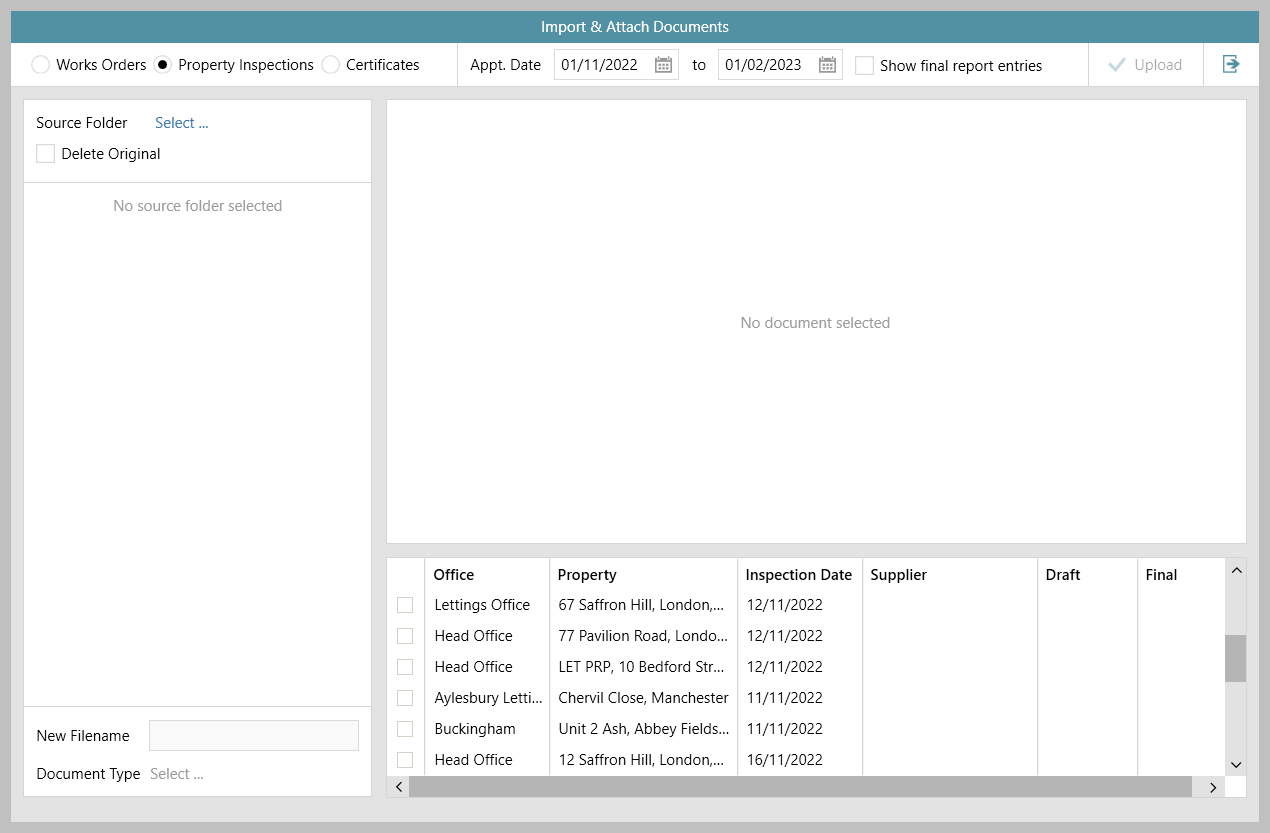 | ||||||
2. Upload documents to the importer & change filename/type Locate the folder where the PDF documents are stored:
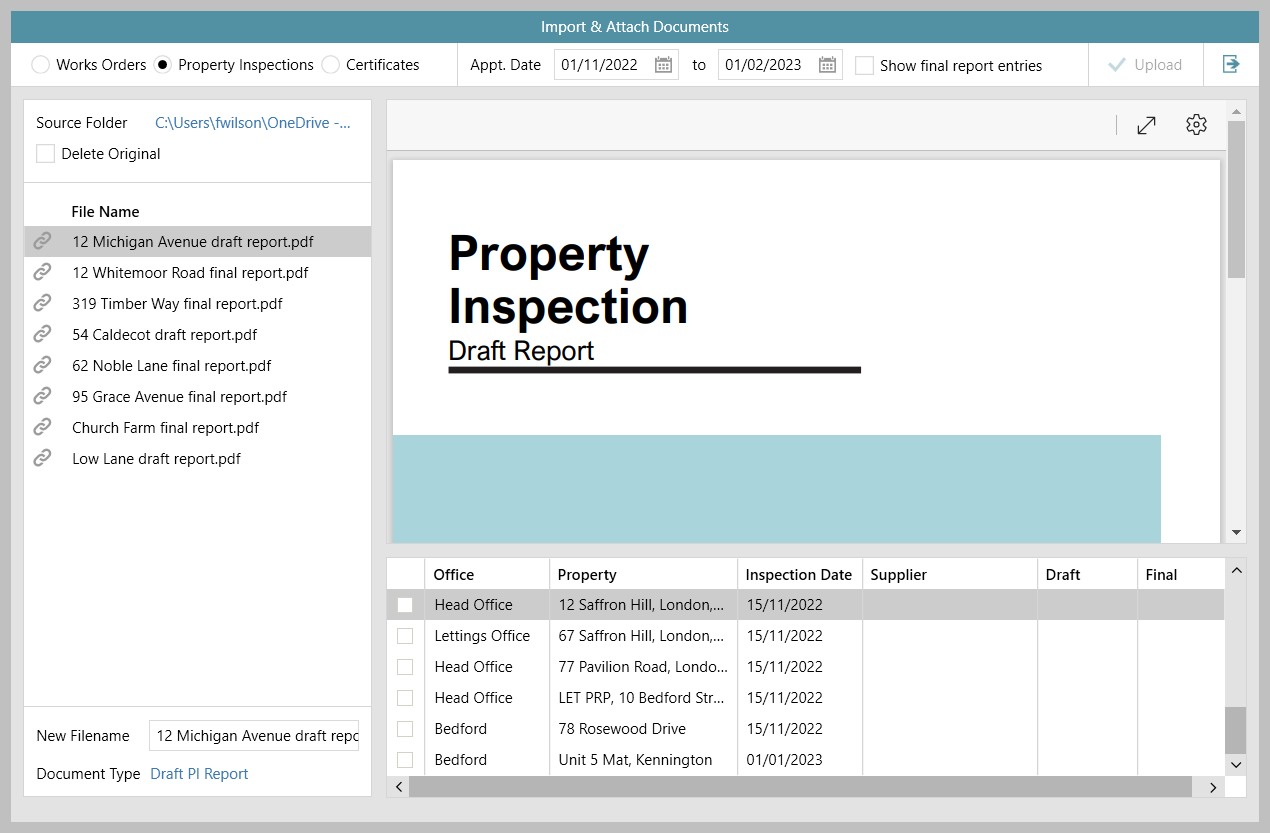 Before uploading, ensure file name and document type are correct:
| ||||||
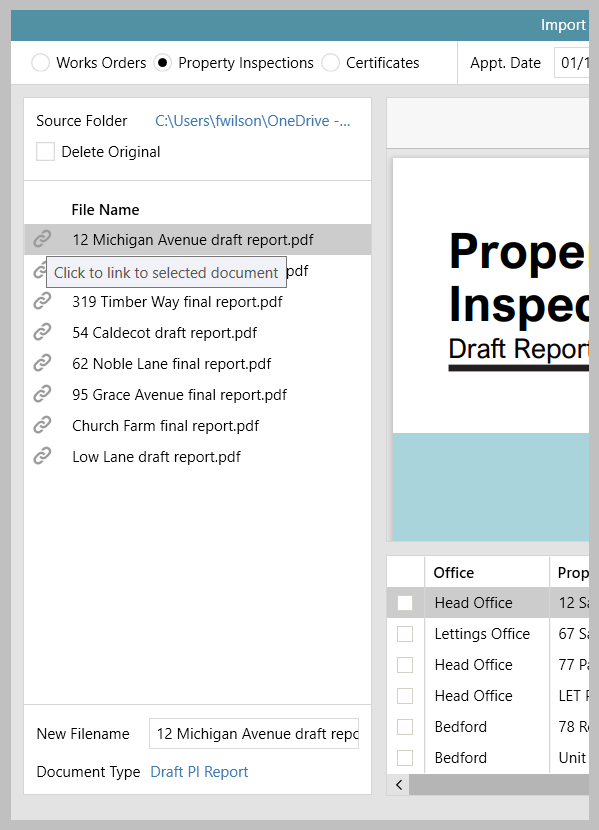
3. Link inspection report document to inspection appointment In panel bottom right:
| ||||||
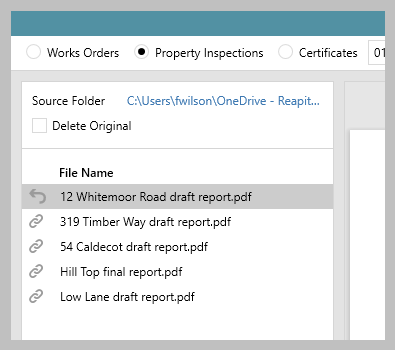
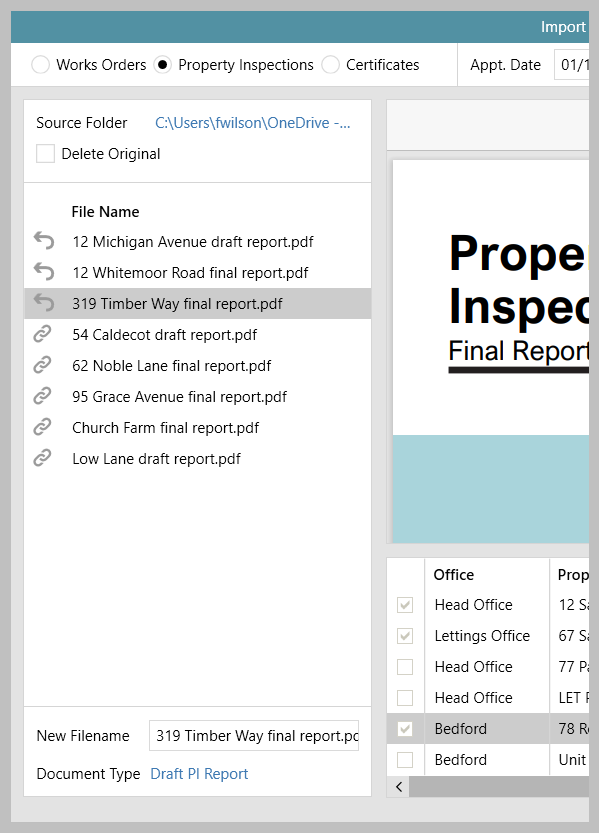
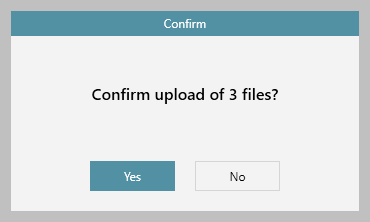
4. Upload report documents to PI appointments in bulk
If you have more PI appointments to link documents to:
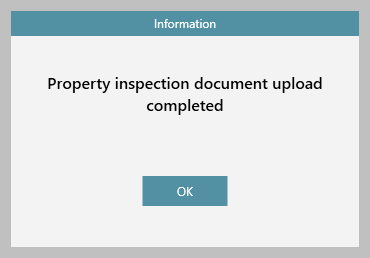
When all required PI appointments are linked to report documents:
|


...