...
To enable this configuration option, click here to contact Reapit Support
| Tip |
|---|
Pre-AgencyCloud Prior to version 12.161: supplier approval functionality also needs to be enabled to use the supplier checklist - however, from AgencyCloud version 12.161+, this is not required in order to use it
If supplier approval is not enabled, completing the supplier checklist is an optional process From AgencyCloud version 12.162+: when using supplier approval functionality, a further configuration option is available which makes the completion of the supplier checklist compulsory, as it requires the checklist to be completed before the supplier can be approved
For more information on this configuration option, see section 7 below |
...
| Tip |
|---|
Each of the above configuration settings is set for each checklist item
When contacting Reapit Support to request supplier checklist configuration, please consider which settings are required for each check |
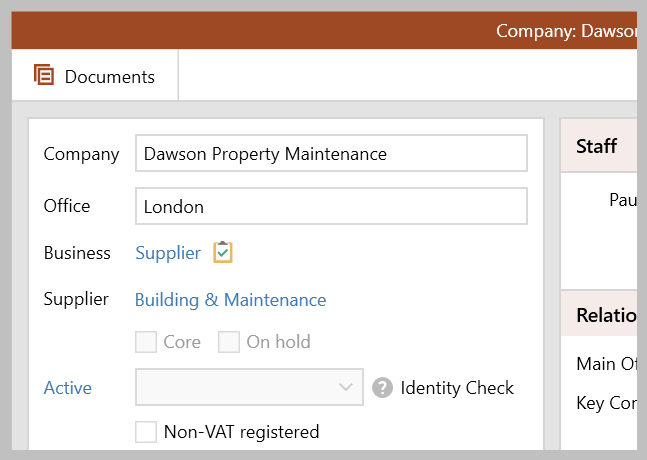
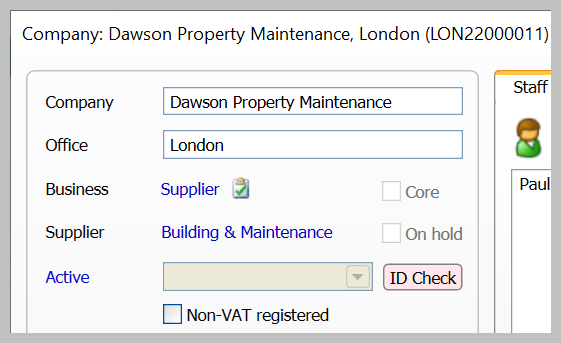
1. Access supplier checklist When adding a new supplier, the supplier checklist can be accessed and used |
AgencyCloud AgencyCloud version 12.161+  Image Modified Image Modified
If using the legacy company screen From supplier company record: |
AgencyCloud AgencyCloud version 12.161+ 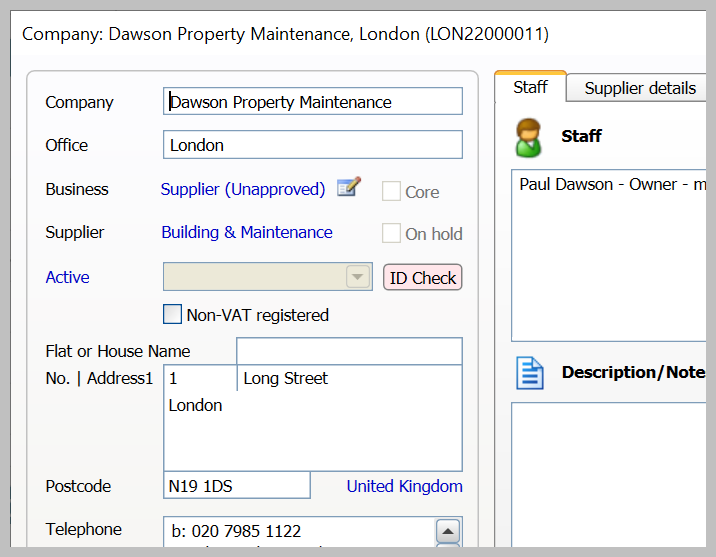 Image Modified Image Modified
|
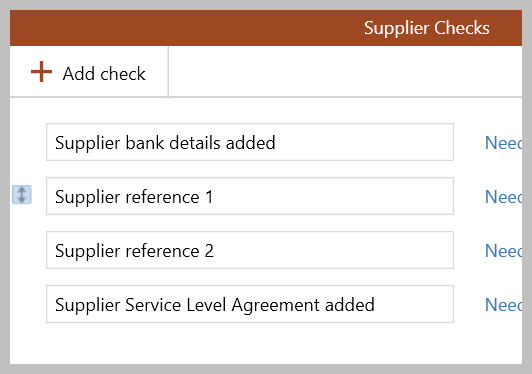
2. Supplier checklist The types of check displayed is dependent on how your business have chosen to set this up 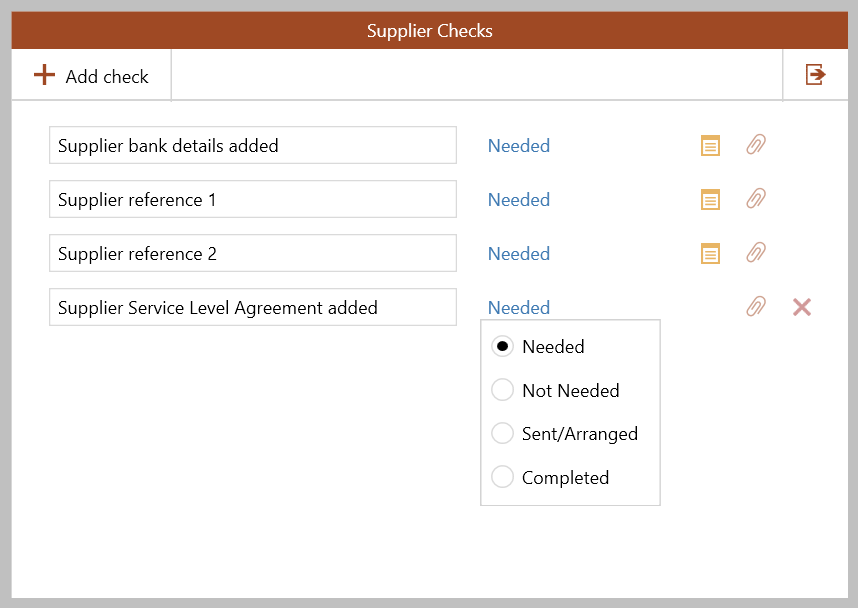 Image Modified Image ModifiedUse the link to the right of the check to update the status of it Options offered are: Needed, Not Needed, Sent/Arranged, Completed
Configuration may prevent a check from being marked as Not Needed
If your configuration settings allow: Click Add check to add further entries to the list Click the red cross to the right to remove a check Click into the field to edit the check title
The paperclip icon beside the check allows you to attach associated documents - see 2a
If a yellow notepad icon is displayed beside the paperclip on a check, this check requires a document to be uploaded before it can be marked as Completed The order of the checks can be changed - see 2b
|
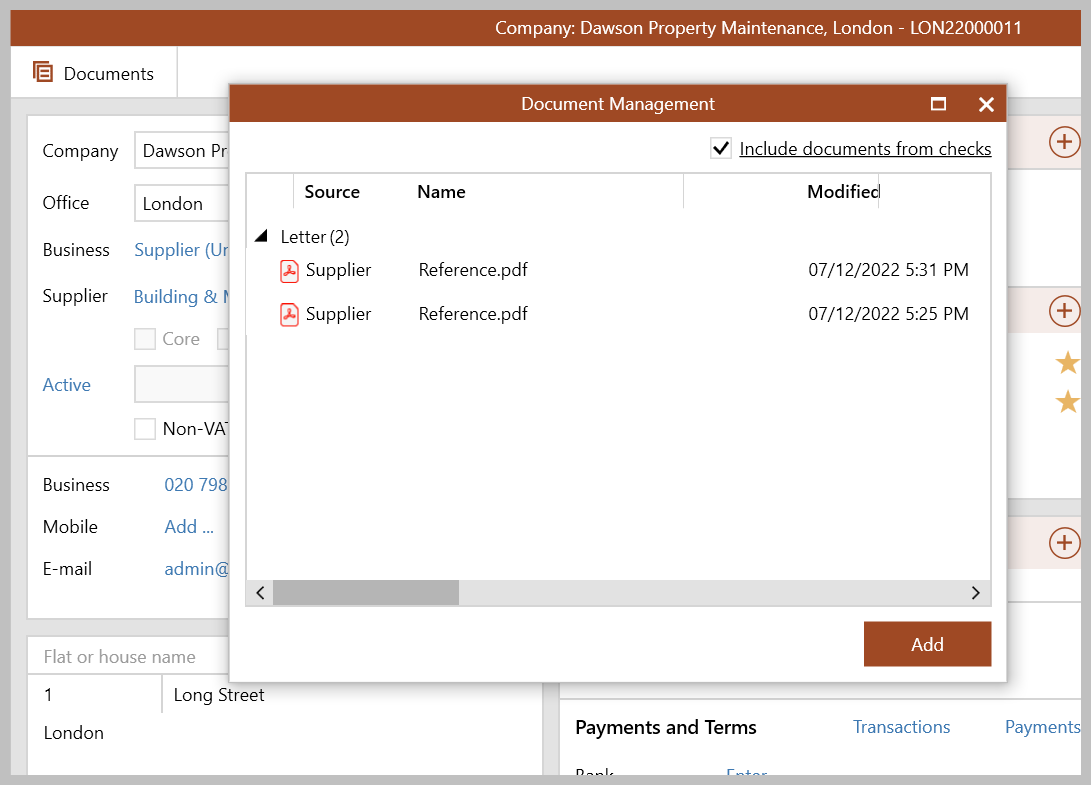
2a. Add/view check documents Add check documents To the right of the check, click the paperclip icon to access Document Management 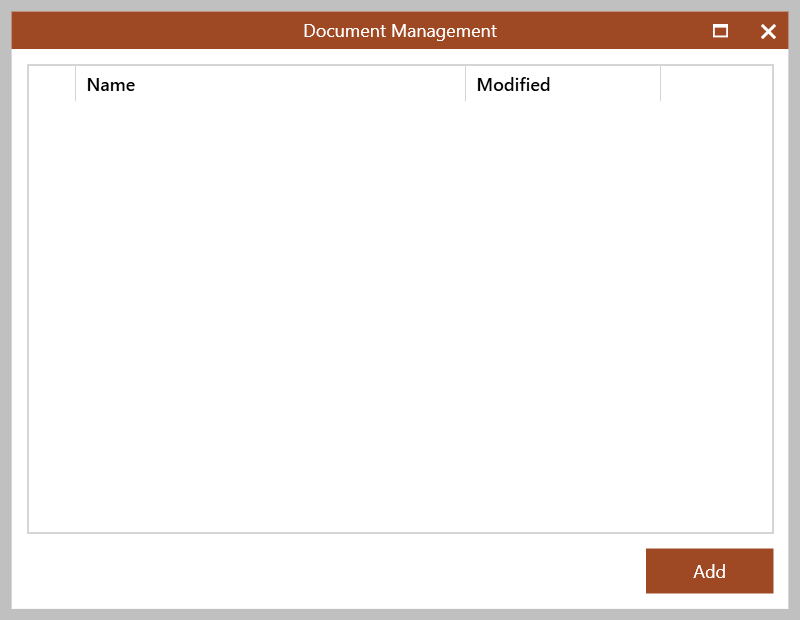 Image Modified Image ModifiedDrag and drop your document over the above window, or click Add and browse to it When added, the Edit Document screen allows you to change the document Name and Type 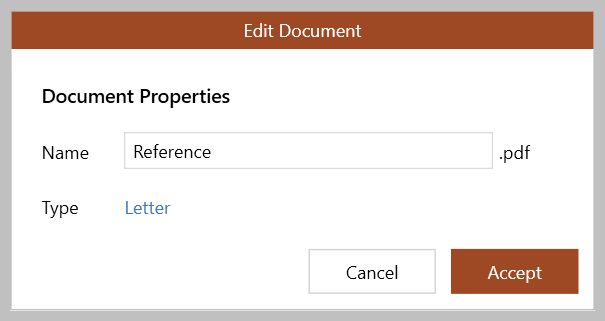 Image Modified Image ModifiedClick Accept
The document is displayed in the Document Management window
View check documents From supplier company record (when using the new company screen): | Info |
|---|
When using the legacy company screen, documents added to checks can be viewed by accessing the checklist and clicking the paperclip icon beside the relevant check |
|
2b. Change order of checks | Tip |
|---|
Hover over each check title to see details of when it was updated/completed in a tooltip |
|
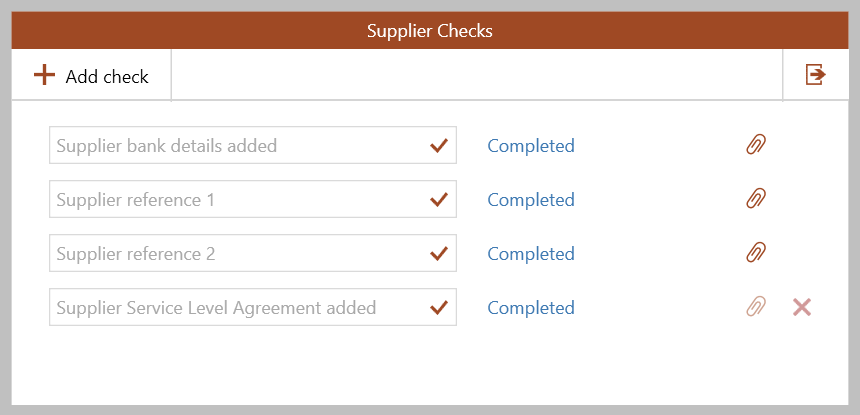
3. Completed supplier checklist When all items on the checklist are complete: If using the legacy company screen: | Tip |
|---|
Once marked as complete, the supplier approval process should now be followed
Up to |
|
AgencyCloud version 12.160, supplier approval functionality also needs to be enabled - this functionality is not a requirement from |
|
AgencyCloud |
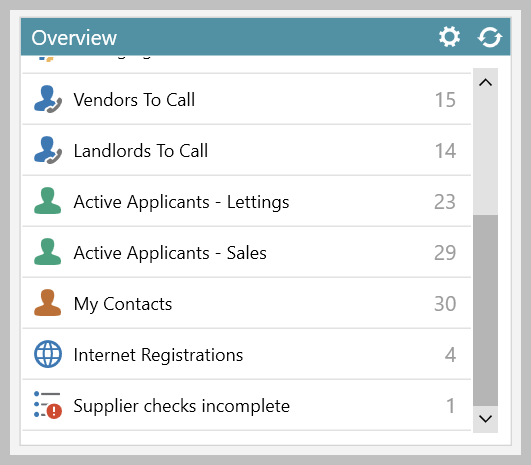
4. Incomplete supplier checks on the Organiser Incomplete supplier checks can be flagged on the Organiser, this needs to be added to the panel and saved first From Organiser: In the Overview or To-do List panel (for example) hover over panel header and click cog icon Tick Supplier checks incomplete  Image Modified Image ModifiedClick tick (top right) to save Panel Setup The Supplier checks incomplete option is shown in the panel
|
6. Report on supplier checks A checks option is available when running a Power Report on company records From Reports on main menu: Click Power Reports Select Company Report type Click Business Type, leave set to any of and select Unapproved Supplier
When using supplier approval functionality, selecting Unapproved Supplier ensures that new suppliers whose checklist is not complete are shown In Linked Records, click Checks
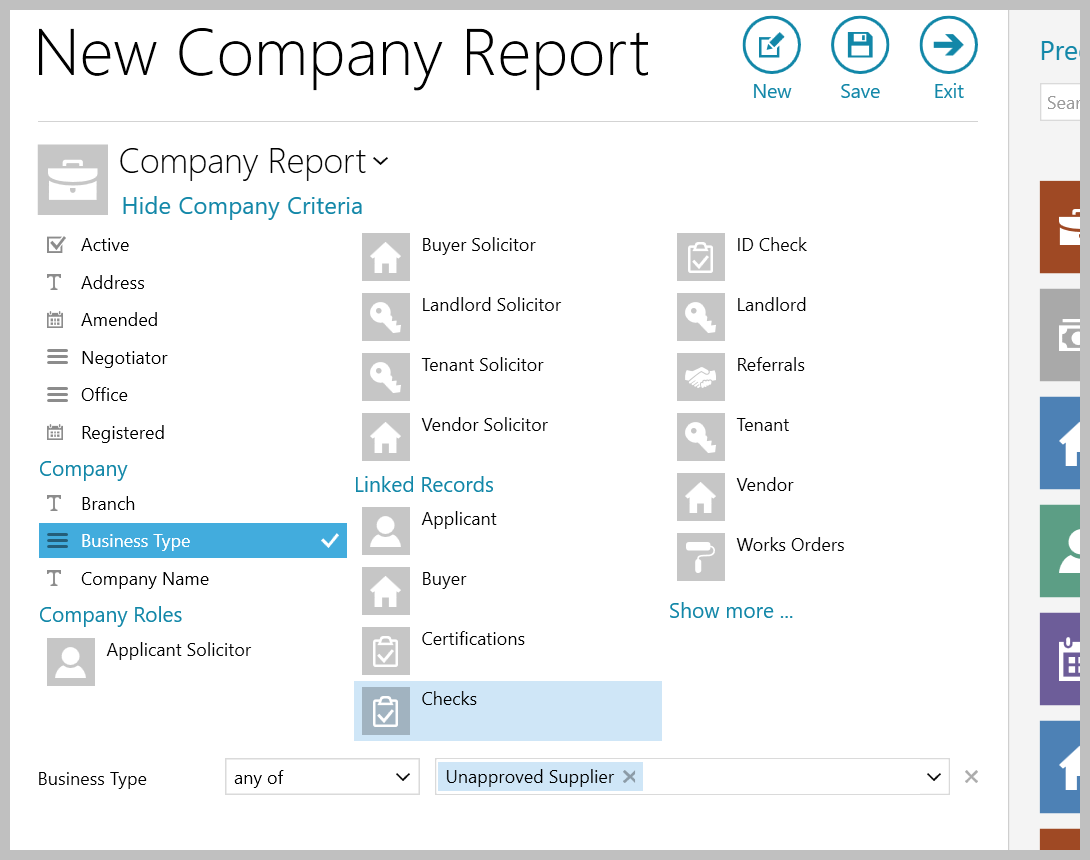 Image Modified Image Modified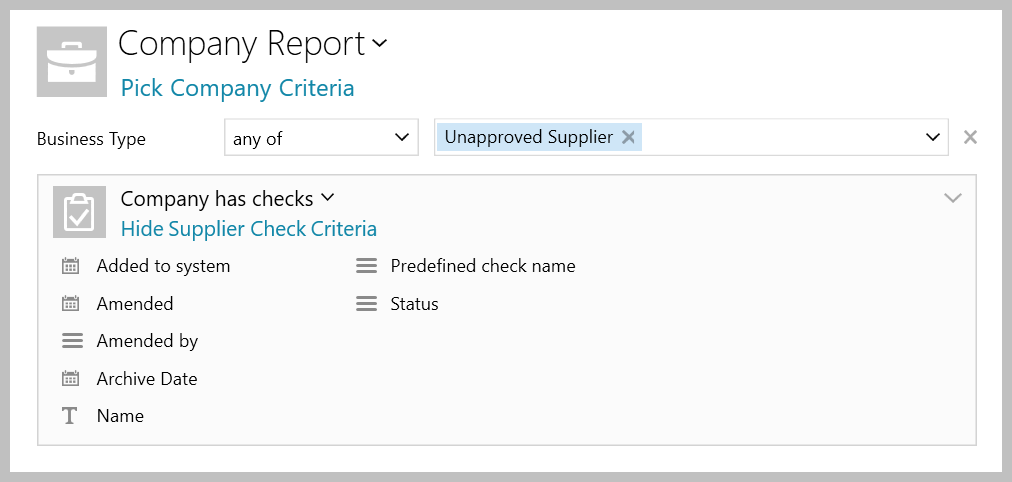 Image Modified Image ModifiedExample report This report will return all company supplier records where the supplier is Unapproved and the Supplier bank details added check is currently Needed or Sent/Arranged (i.e. it is not complete) 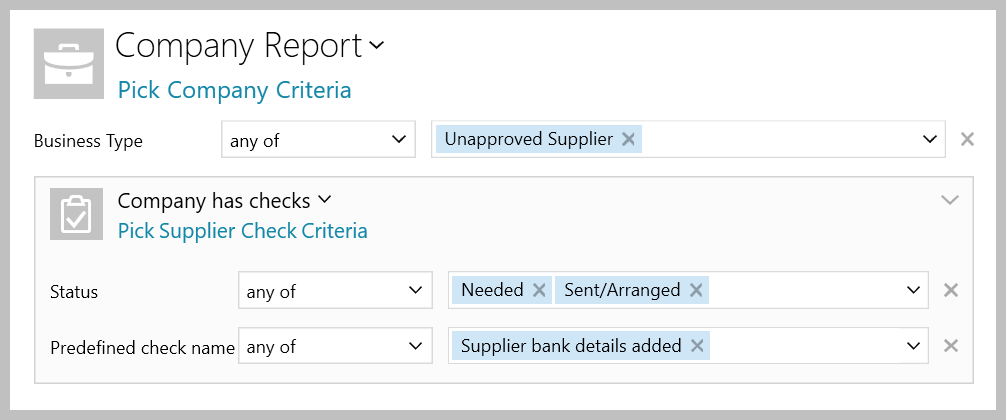 Image Modified Image Modified |
7. Require completed checklist before supplier can be approved - configuration option (available from |
AgencyCloud version 12.162+) A configuration option is available which prevents a supplier from being approved until the supplier checklist has been completed To enable this configuration option, contact Reapit Support 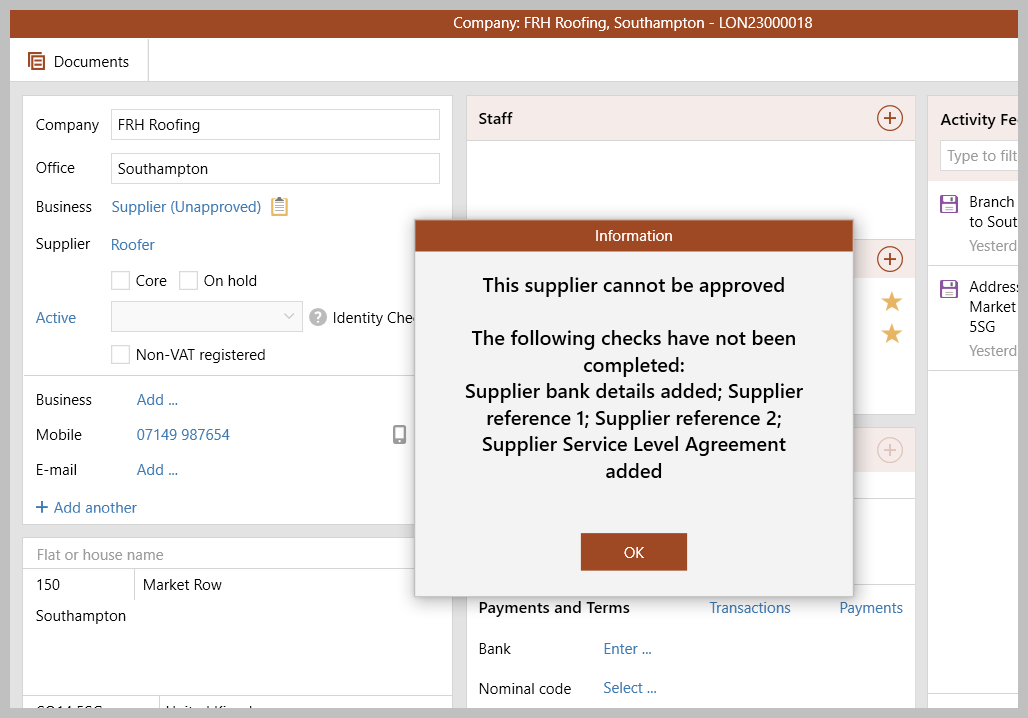 Image Modified Image Modified |
Related articles
| Filter by label (Content by label) |
|---|
| showLabels | false |
|---|
| max | 8 |
|---|
| sort | modified |
|---|
| showSpace | false |
|---|
| reverse | true |
|---|
| cql | label = "company" |
|---|
|
| Note |
|---|
Need more assistance? No problem! Just log a ticket on the Reapit Service Desk Portal at https://reapitsupport.refined.site/ and a member of our Support Team will be happy to help |
| Excerpt |
|---|
|
Configuration option to provide supplier checklist functionality - the supplier checklist contains items specific to your business requirements - outstanding supplier checks can be flagged in the Organiser and also reported on |
...