Versions Compared

Key

  • This line was added.
  • This line was removed.
  • Formatting was changed.

...

1. View PI appointments to upload draft/final reports

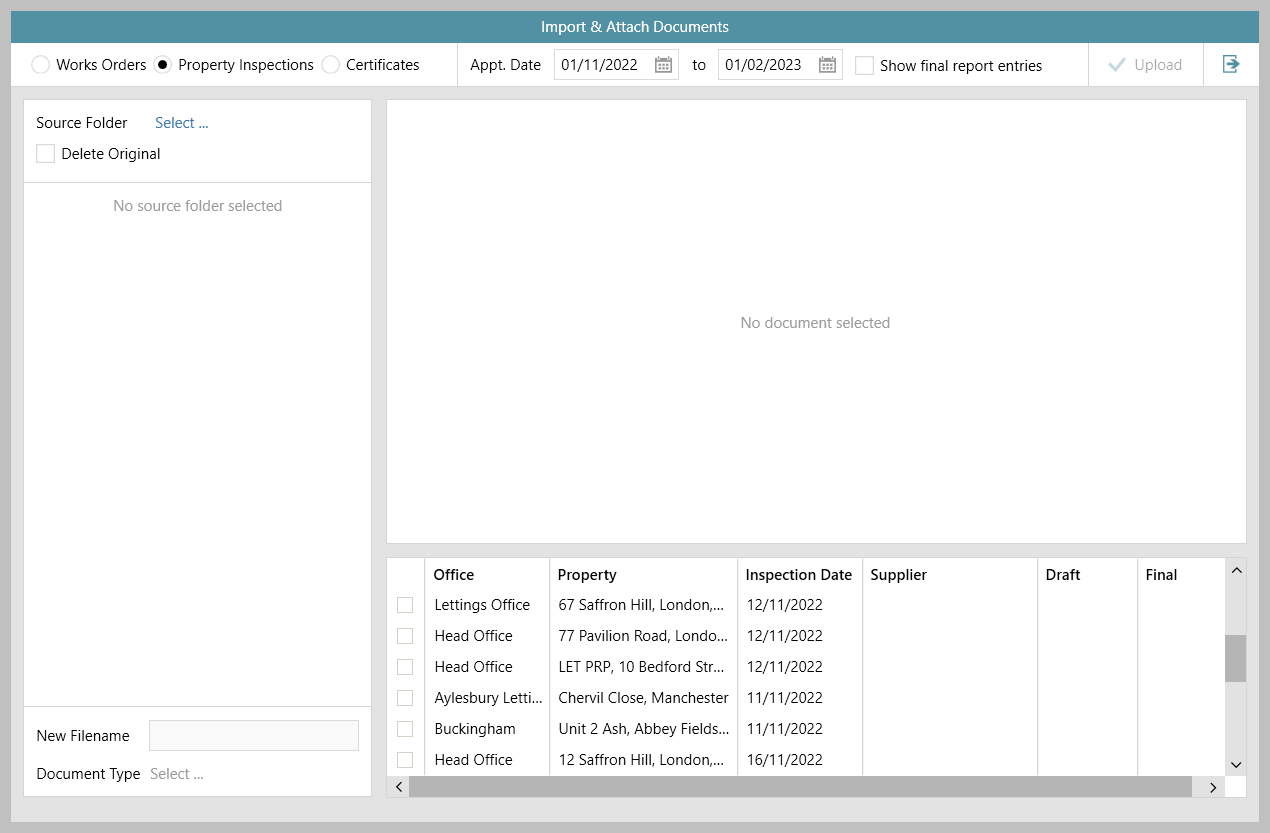
Select Property Inspections filter (top left):

  • The panel (bottom right) will automatically show PI appointments within the date range shown that do not have a final report uploaded against them

  • To change the time frame shown, use the Appt. Date date filters at the top of the screen

  • If you need to re-upload a final report, tick Show entries with final reports

2. Upload documents to the importer & change filename/type

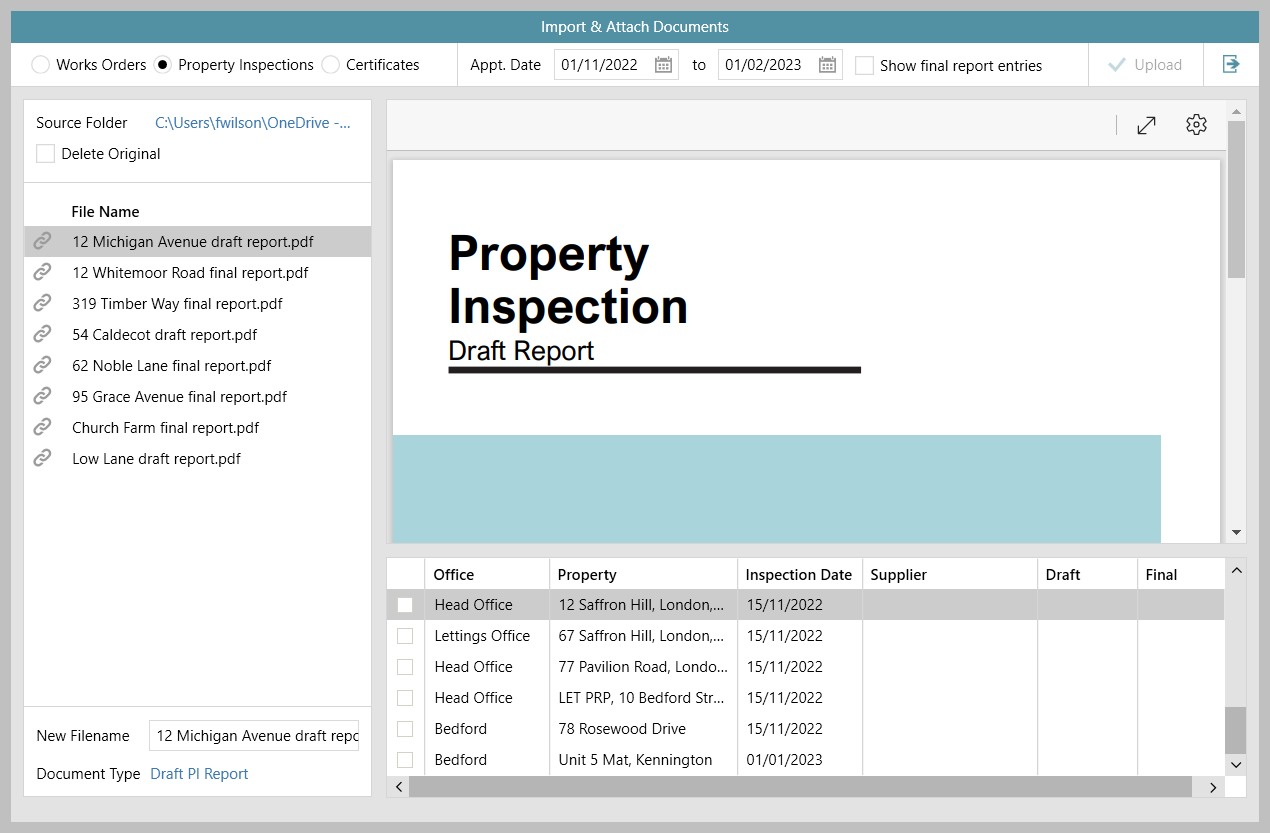
Locate the folder where the PDF documents are stored:

  • Beside Source Folder (top left), click Select (shown in step 1)

  • Browse to where the documents are stored, select folder and click OK

  • All PDF documents in the selected folder are displayed on left
    Files can be re-uploaded - click Source Folder option again and select required/same folder to refresh the document list

  • Select a document on the left to display a preview of it on the right

Before uploading, ensure file name and document type are correct:

  • Use New Filename to enter the correct filename

  • Click Document Type to select Draft PI Report or Final PI Report, as appropriate

Note

It is important that the correct document type is chosen in this step to ensure that the report is filed correctly as a draft or final report

3. Link inspection report document to inspection appointment

In panel bottom right:

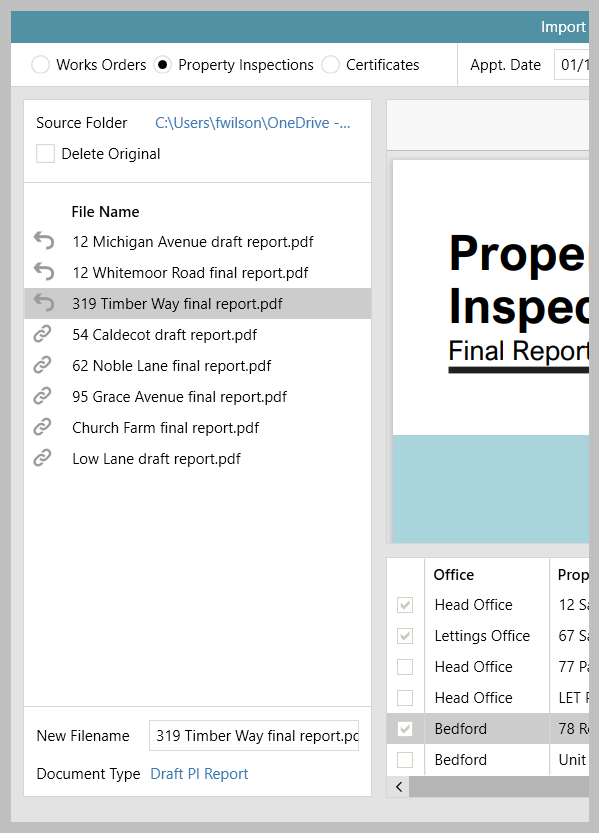
  • Select inspection appointment

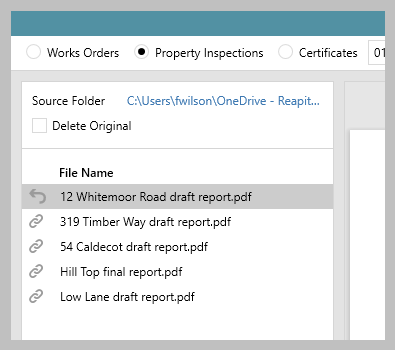
  • Click link icon to the left of the relevant report document

  • The link icon is replaced with an arrow/undo icon, allowing you to unlink the document

4. Upload report documents to PI appointments in bulk

Tip

When a report document is linked to a PI appointment, the PI appointment is displayed with a tick beside it in the panel bottom right, indicating that documents are linked and ready to be uploaded

If you have more PI appointments to link documents to:

  • Select the required PI appointment and continue the process, as outlined in step 3

    Image RemovedImage Added

When all required PI appointments are linked to report documents:

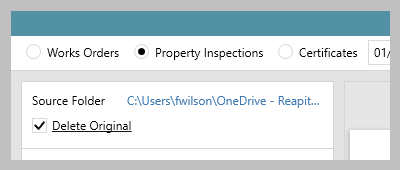
  • An option to delete the original is available, this will delete any successfully uploaded files from the source location (ignore this step if you want to keep the original files in the source location)

    • Tick Delete Original

  • Click Upload (top right)

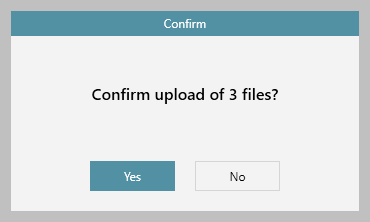
  • A confirmation message will be displayed - click Yes

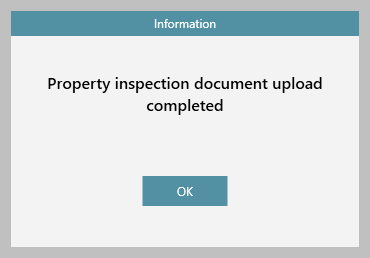
  • A confirmation message will be displayed to indicate the upload is complete

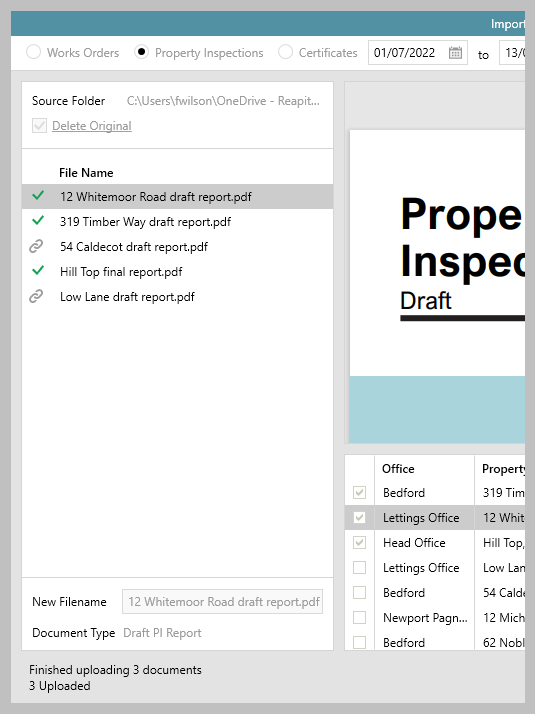
  • In the panel on the left, files which have been successfully uploaded will display with a green tick
    If a file could not be uploaded, an error icon will be displayed
    Files that weren’t linked to a PI appointment will show with the link icon beside them

Tip

To prevent any duplication of work, to upload & link more documents (or re-attempt failed uploads), close the document importer & re-open to start a new session

Info

From version 12.170+, a configuration option is available which automatically creates an email when a final inspection report is uploaded using the document importer tool, click here for more information: Send Email copy of final inspection report after upload via document importer - configuration option

Add certificate details & upload certificate document/file

...