This guide has been reviewed against our global client base and classed as relevant to all regions
Available from version 12.159
Configurable option for Enterprise customers
To request this option to be enabled on your system, click here to contact Reapit Support
A configuration option is available which allows PDF documents to be imported in bulk and attached to works order supplier invoices, property inspections & certificates via one central document importer screen
This guide covers:
Document importer basics
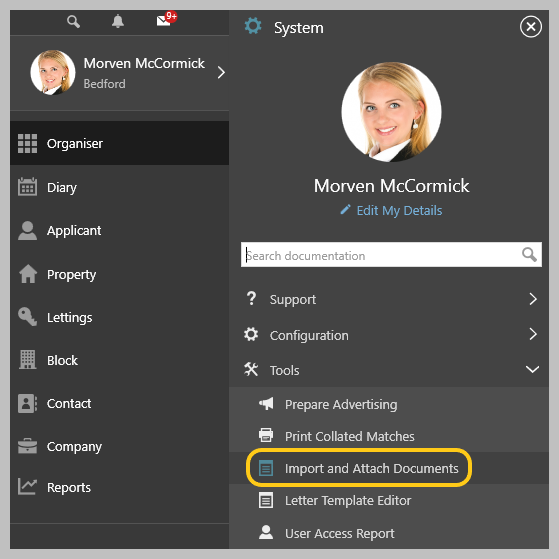
1. Access document importer via Tools menu From main menu:
| |
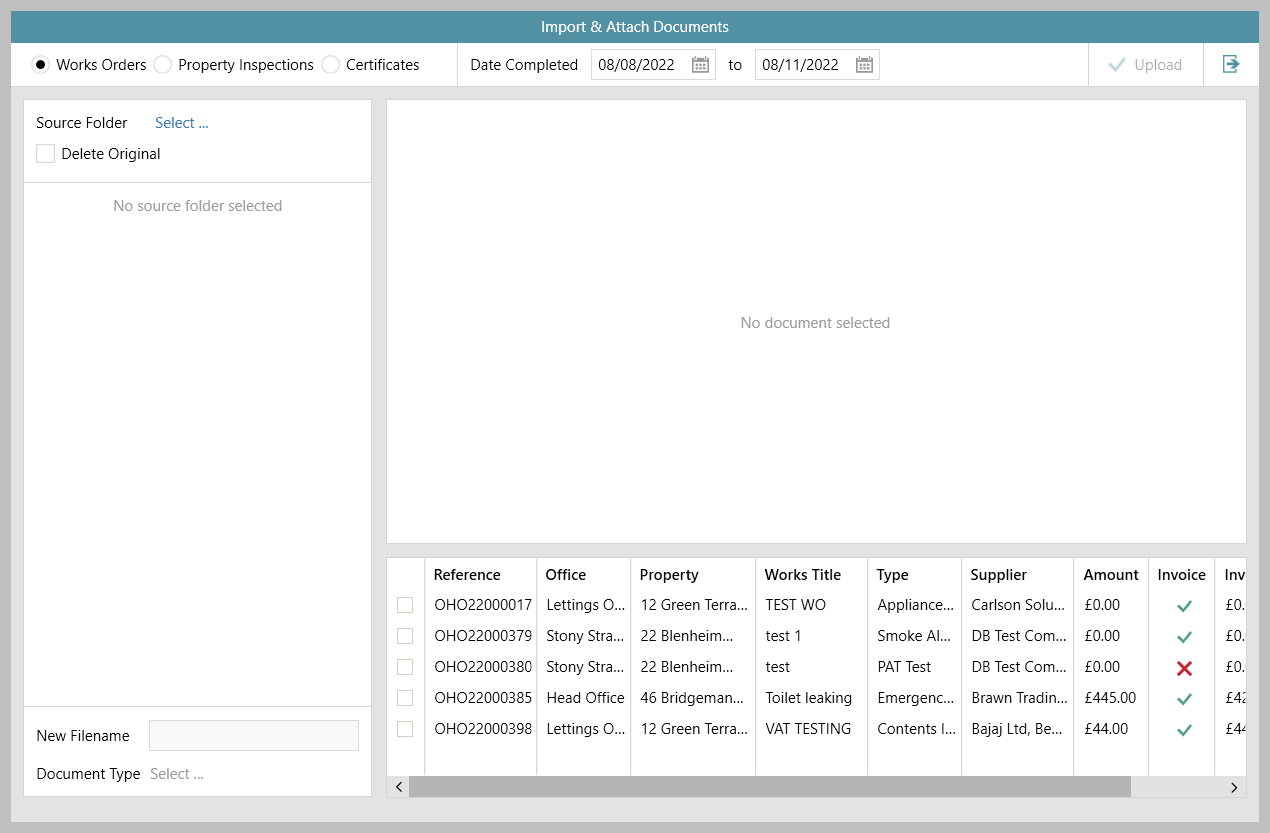
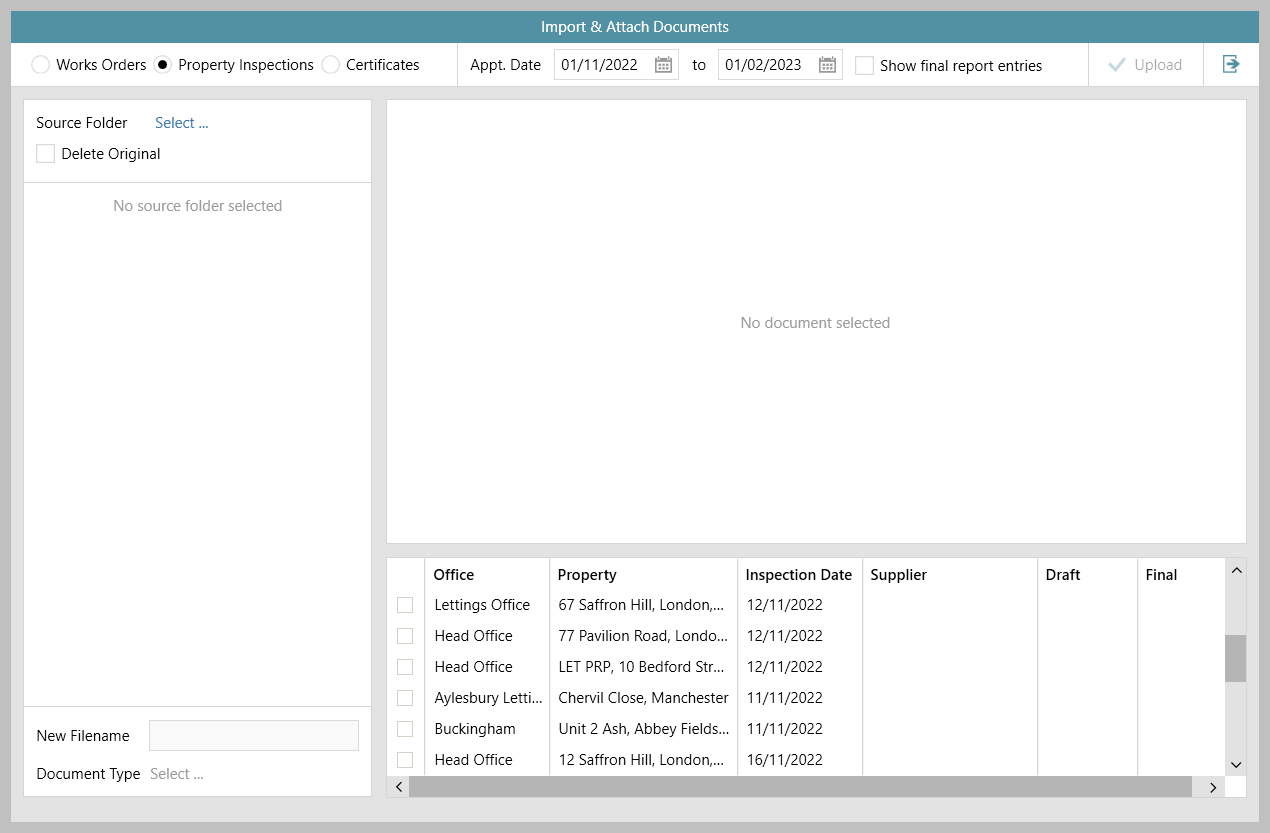
2. Document importer screen basics - including creating/viewing supplier invoice
Invoice column
Docs column
| |
3. Documents to upload Points to note:
| |
Upload supplier invoice documents to works order invoices
Documents uploaded and linked to a works order are uploaded to the associated supplier invoice , not the works order itself
1. View completed works orders with no posted supplier invoice Select Works Orders filter (top left):
|
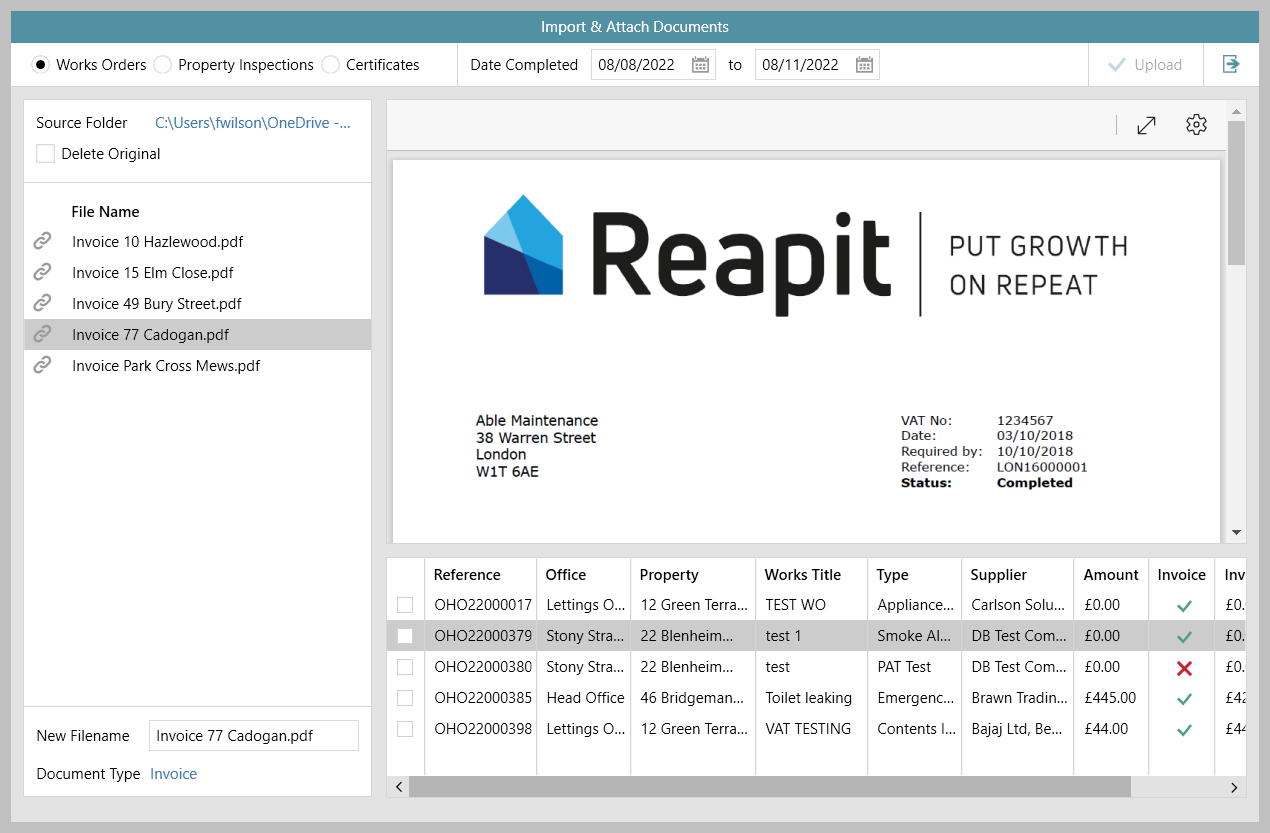
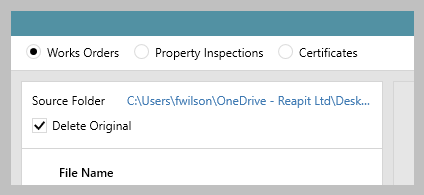
2. Upload documents to the importer & change filename/type Locate the folder where the PDF documents are stored:
The filename & type can be changed when it is uploaded:
|
3. Link document to works order invoice In panel bottom right:
If you wish to link more than one document to the selected works order:
More than one document can be linked to the same works order |
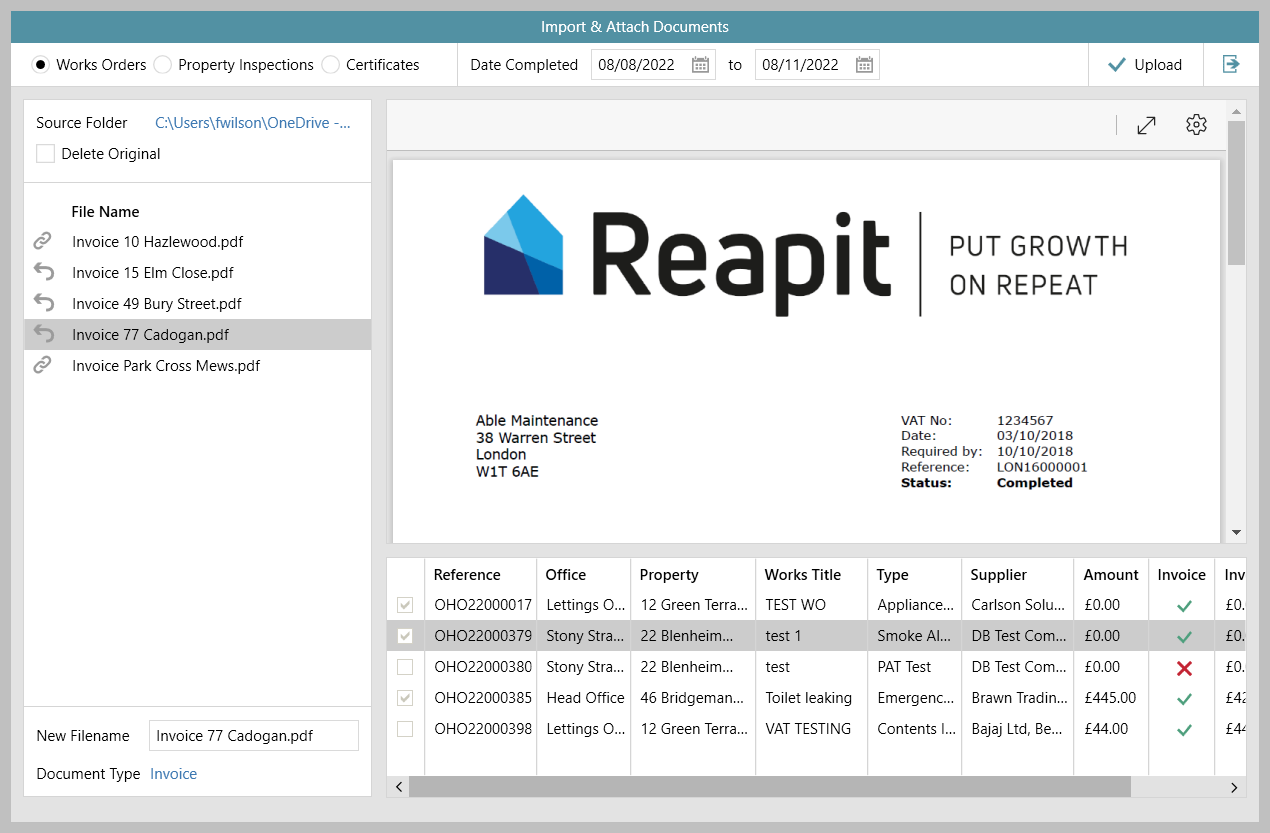
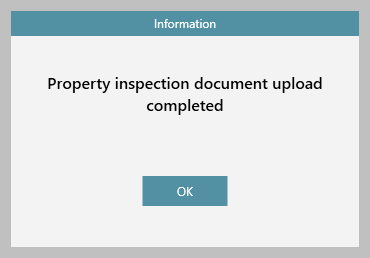
4. Upload documents to works order invoices in bulk When documents are linked to a works order, the works order is displayed with a tick beside it in the panel bottom right, indicating that documents are linked and ready to be uploaded If you have more works orders to link documents to:
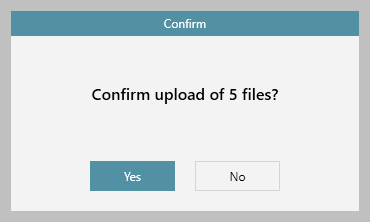
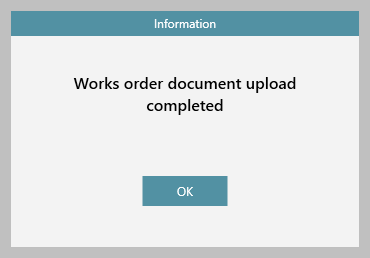
When all required works orders are linked to documents:
To prevent any duplication of work, to upload & link more documents (or re-attempt failed uploads), close the document importer & re-open to start a new session |
Upload property inspection (PI) report documents to PI appointments
The property inspections option is only available when using advanced property inspection functionality (which provides the ability to upload draft and final reports as part of the inspection appointment), as outlined here:
Store documents against property inspection - configuration option
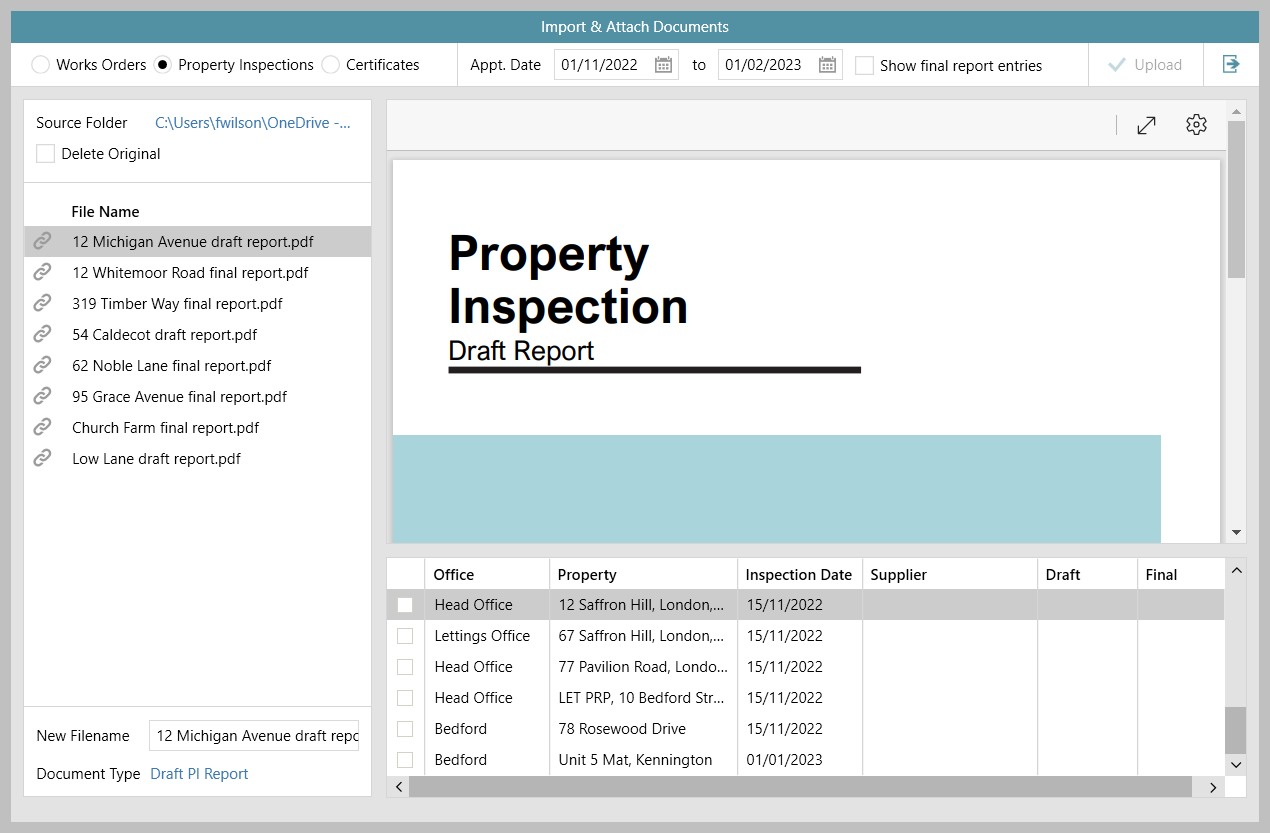
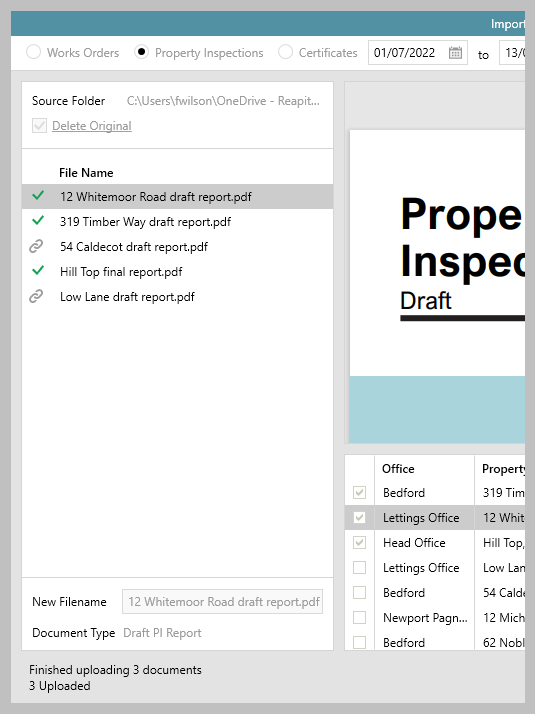
1. View PI appointments to upload draft/final reports Select Property Inspections filter (top left):
|
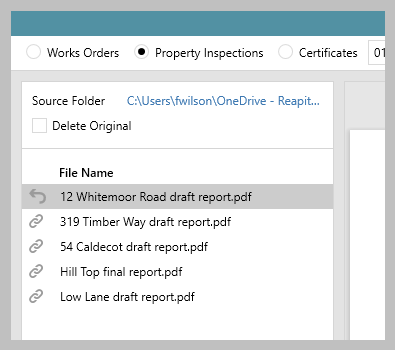
2. Upload documents to the importer & change filename/type Locate the folder where the PDF documents are stored:
Before uploading, ensure file name and document type are correct:
It is important that the correct document type is chosen in this step to ensure that the report is filed correctly as a draft or final report |
3. Link inspection report document to inspection appointment In panel bottom right:
|
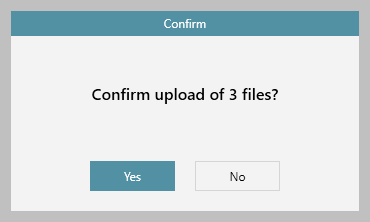
4. Upload report documents to PI appointments in bulk When a report document is linked to a PI appointment, the PI appointment is displayed with a tick beside it in the panel bottom right, indicating that documents are linked and ready to be uploaded If you have more PI appointments to link documents to:
When all required PI appointments are linked to report documents:
To prevent any duplication of work, to upload & link more documents (or re-attempt failed uploads), close the document importer & re-open to start a new session From version 12.170+, a configuration option is available which automatically creates an email when a final inspection report is uploaded using the document importer tool, click here for more information: Email copy of final inspection report after upload via document importer - configuration option |
Add certificate details & upload certificate document/file
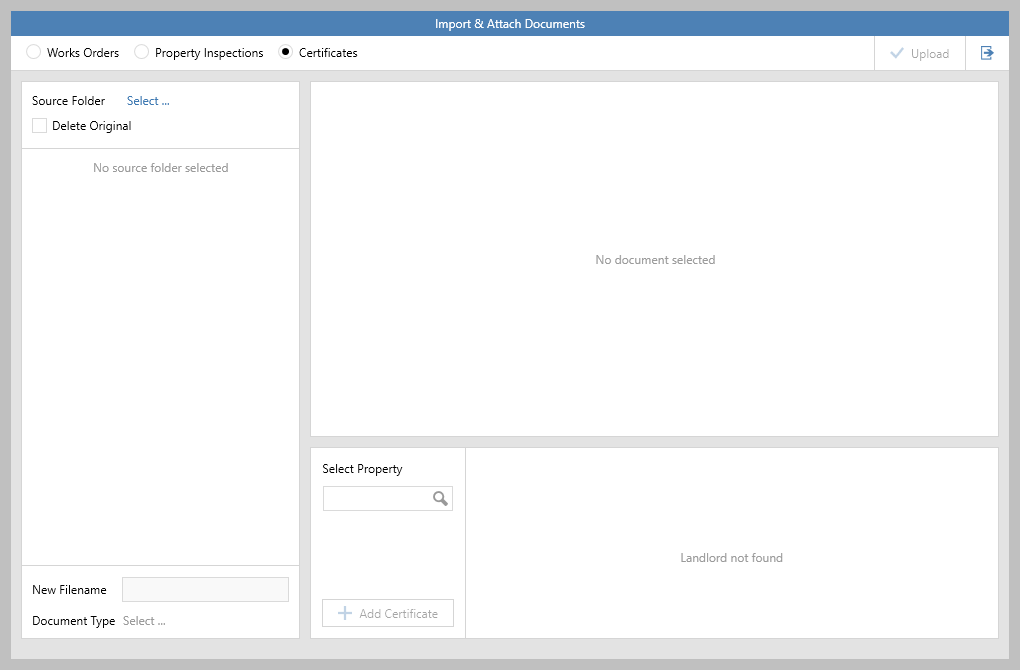
1. Certificates Select Certificates filter (top left):
|
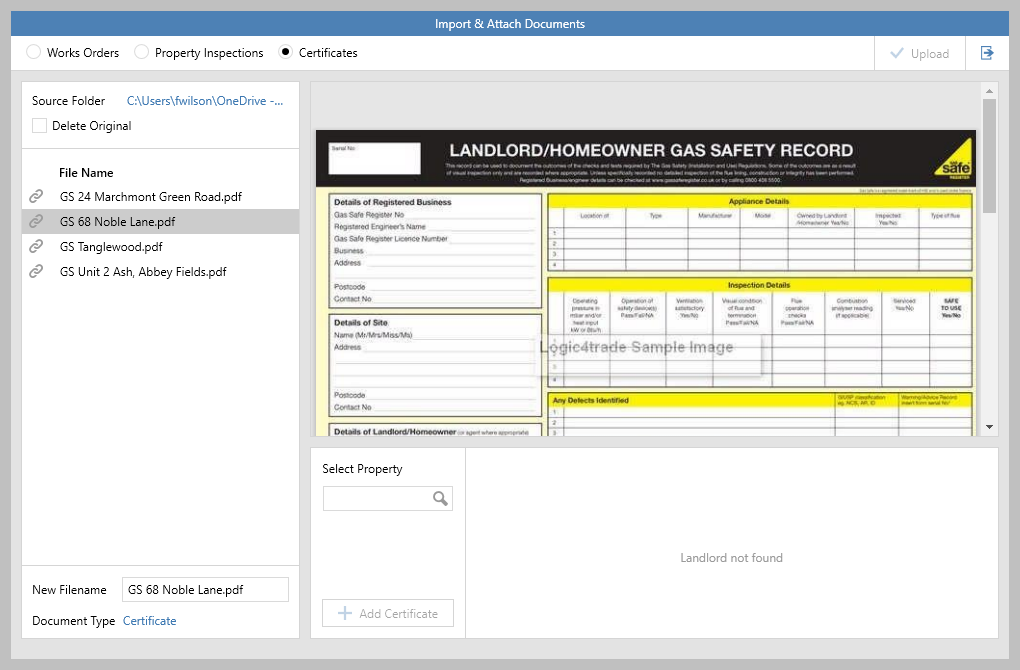
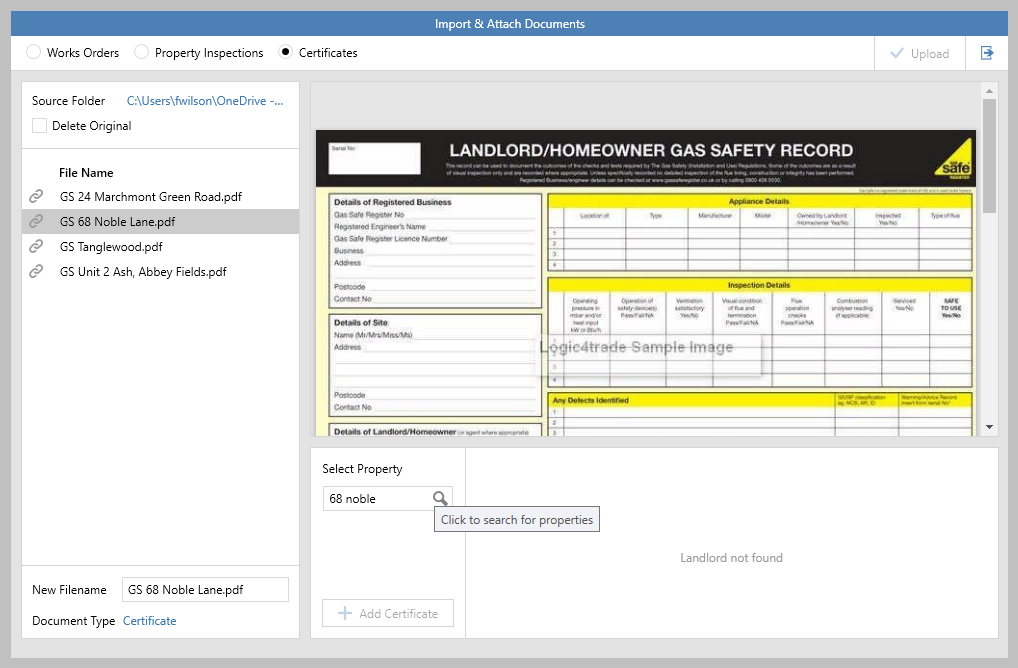
2. Upload documents to the importer Locate the folder where the PDF documents are stored:
The filename can be changed when it is uploaded:
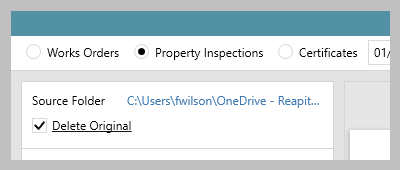
An option to delete the original is available, this will delete any successfully uploaded files from the source location (ignore this step if you want to keep the original files in the source location)
|
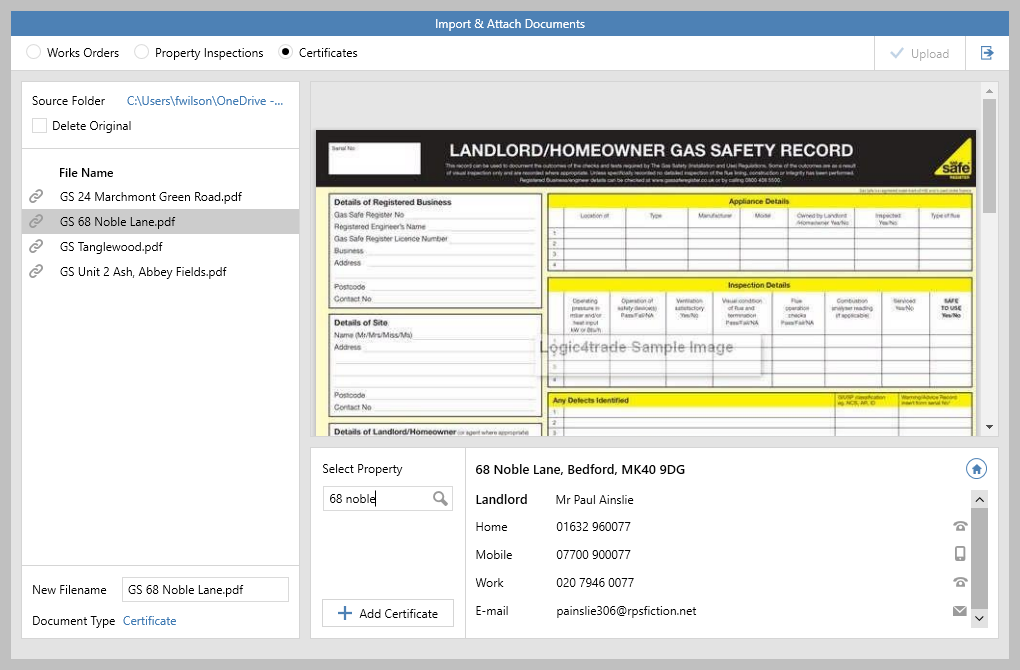
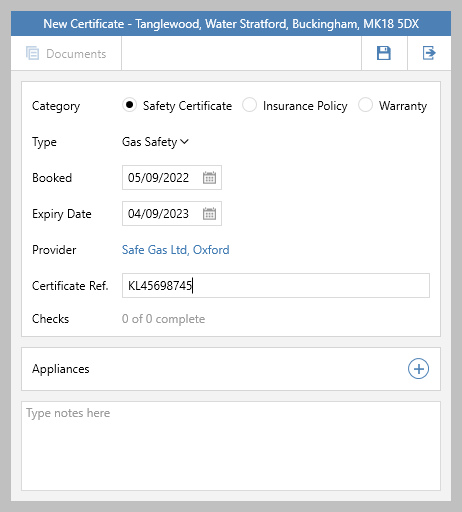
3. Add new certificate detail & upload certificate document/file In panel on left:
In panel bottom right:
There is no need to click Documents to add the certificate document - it will be automatically uploaded when the new certificate details are saved in the next step
|
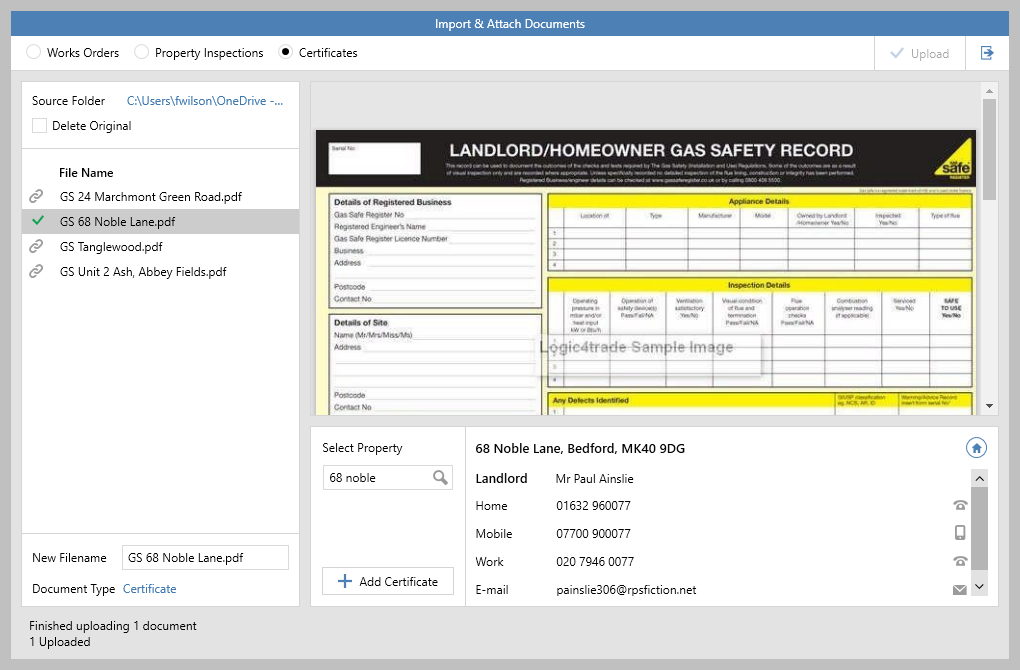
3. Continue uploading & adding certificates
Multiple certificate documents/files can be added to a single property |
