This page outlines how to view current and completed works orders, as well as how to log a works order and email works order details to the relevant parties
1. Access works orders screen From the property screen: 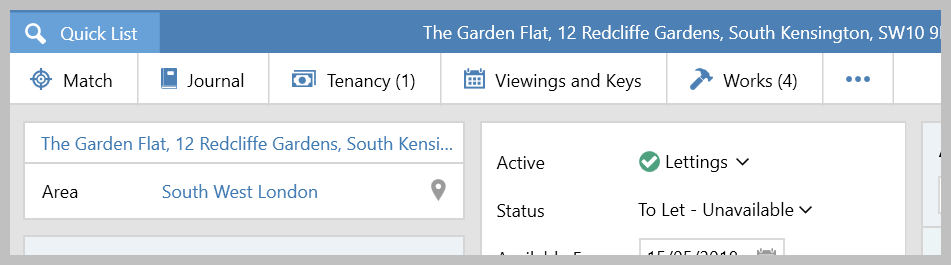 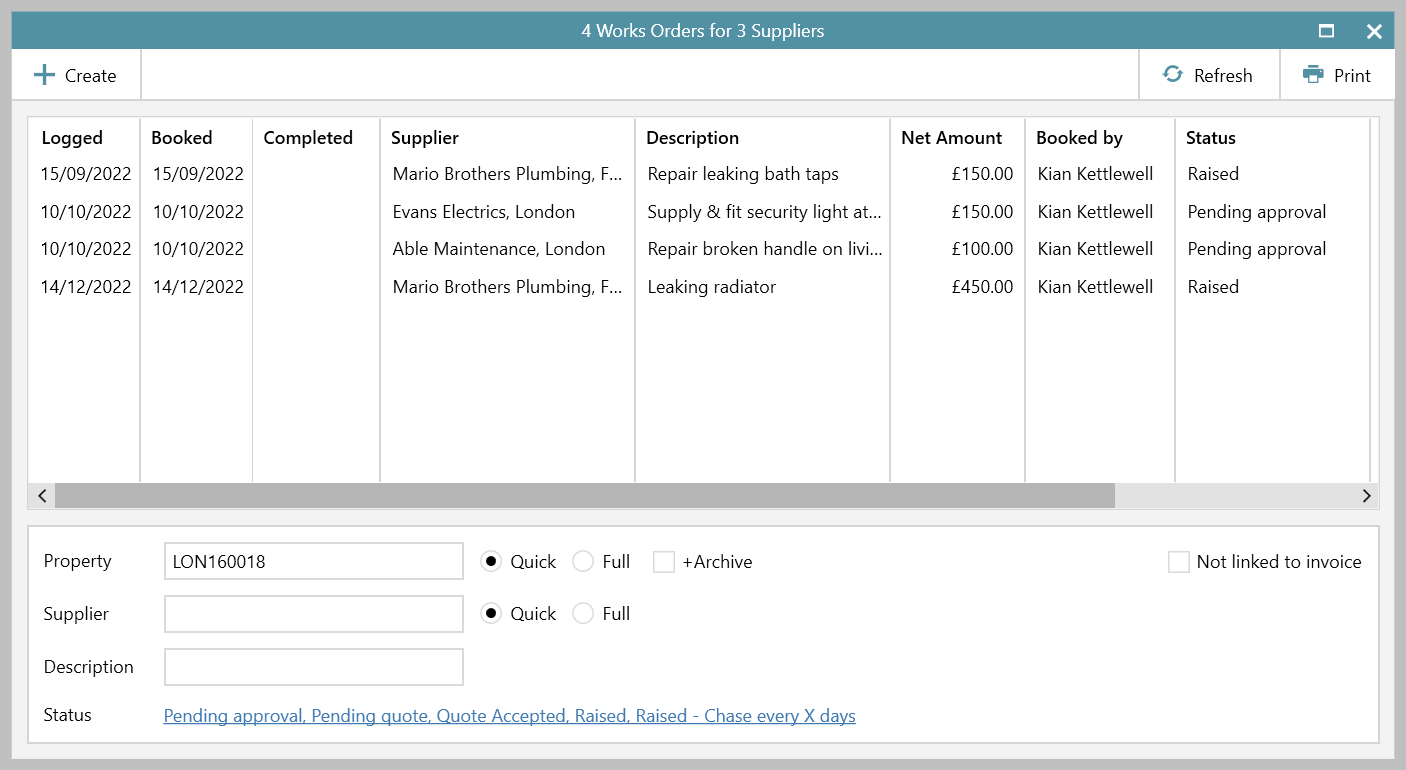 |
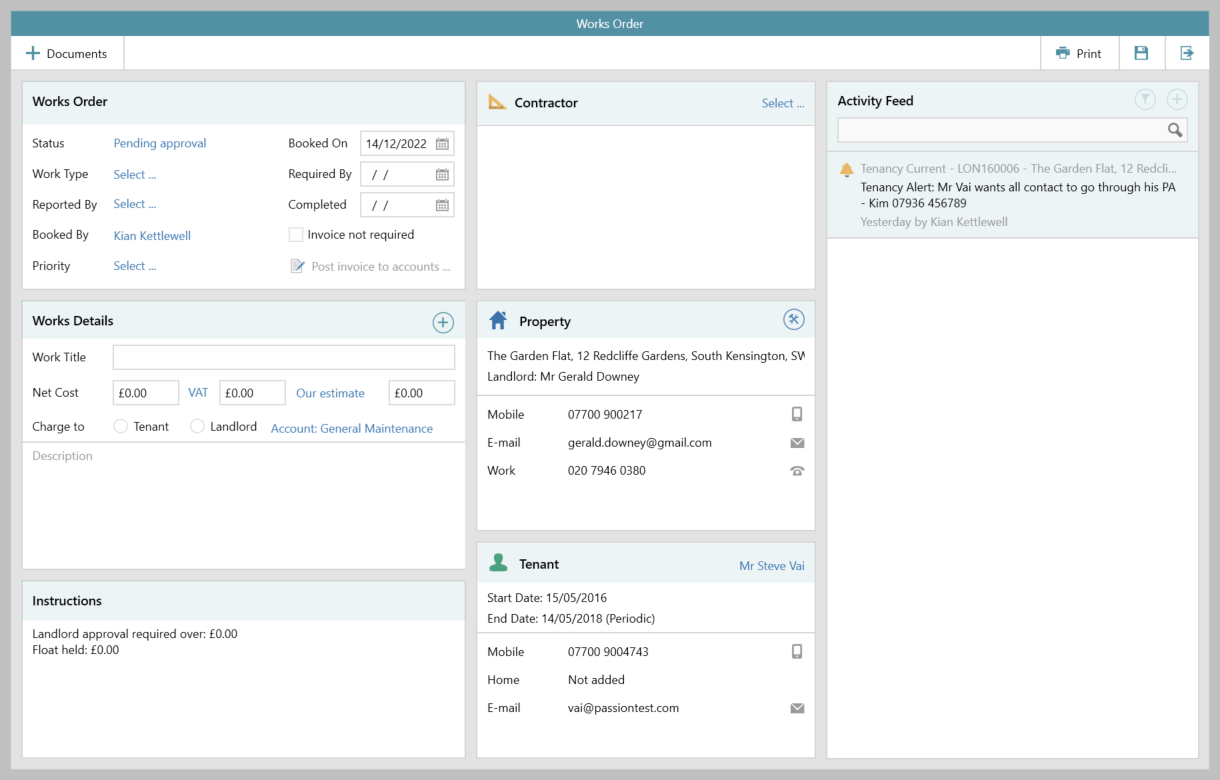
2. Create new works order From the screen shown in step 1: |
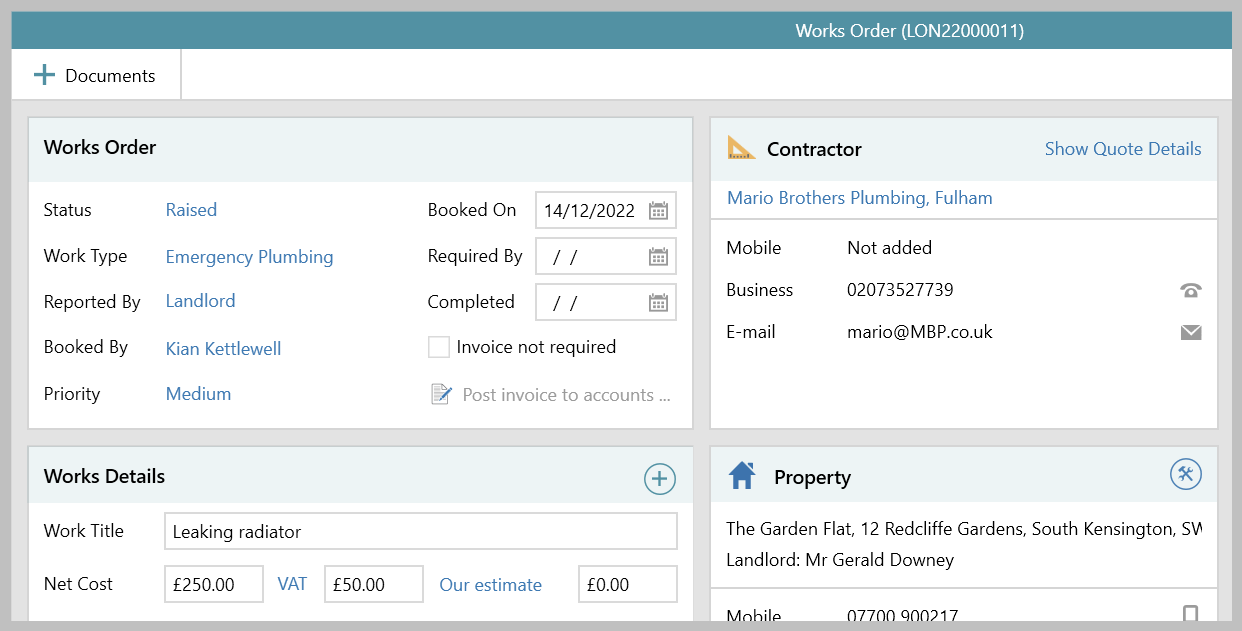
3. Works order panel Use this panel to complete:  Status - select the required status (if choosing Pending quote, see step 4a) 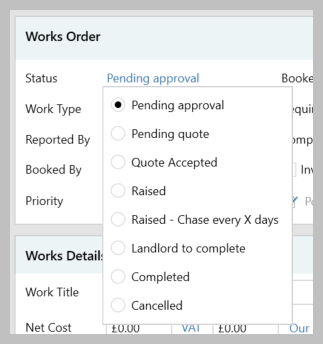 Once a works order is raised, if you need to periodically chase the works, set the status to
Raised - Chase every X days - this adds the works order to the Works orders to chase section on the Organiser, Property Management panel
Work Type - select the required type (this list is configurable by Reapit Support) Reported By - select who reported the works i.e. landlord, tenant, other Booked By - will default to your name, can click name to change Priority (where enabled) - set a priority level for the works (default options are high, medium or low) Booked On date - will default to today's date but can be changed Required By date - enter the date the works should be completed by Completed - enter this date when the works are completed
|
4. Contractor From the Contractor panel: Click Select to enter contractor details Search for the required supplier - if not, found add new
Details of the selected company are shown in the Contractor panel 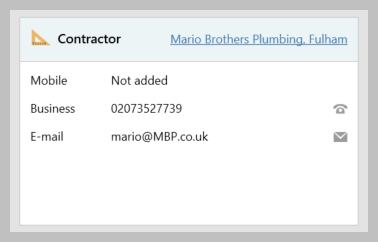 Where quotes are being collected from more than one contractor, set the works order Status to Pending quote - see information in step 4a
|
4a. Storing quotes Where quotes are being collected from more than one contractor: Set works order Status to Pending quote In Contractor Quotes, double-click Add Search for the required supplier - if not, found add new Complete the quote details and click Accept  The quote details are shown on the main works order screen
Continue adding further quotes - a list will be displayed showing each supplier's quote details  Some/all suppliers can be emailed using the E-mail contractors option - clicking this option lists all suppliers, check the supplier(s) to contact and click Select  An email will be generated for each of the selected supplier(s) When selecting Accepted on one quote, all others will be automatically marked as Rejected  When changing the works order status to Raised, the accepted quote detail will be used for the Contractor details and Net Cost
Show Quote Details shows the list of quotes again
 |
5. Works Details Use this panel to complete: 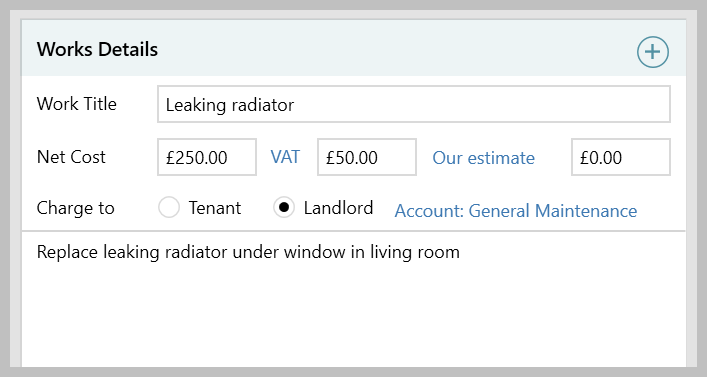 Work Title - enter a summary of the works Net Cost - enter the net cost VAT - click the VAT link and choose rate to automatically calculate the VAT based on the Net Cost
Or select No VAT from the menu Our estimate - enter the estimated cost
Click the link to change the type, options are Our estimate, Verbal or Written estimate Charge to - select Tenant or Landlord Account - select account to charge to Description - enter further information on the works, this is included on any printed works order Click Documents to store any related documents for the current works order Further works items can be added to the works order to create an itemised costs list Click  (top right of panel) (top right of panel) Enter work order detail (description, cost, account) and click Accept All items are added to the panel, as below 
|
6. Works order notes Internal notes can be added to the works order - these notes are not included on the printed works order From Activity Feed (on right): Click the icon Enter note and click Accept  Notes are displayed on screen showing the ID of the person who added the note, along with the date/time added (see screenshot in step 7)
Once saved, notes cannot be edited or deleted
|
7. Printing/emailing works order details From top right of works order: 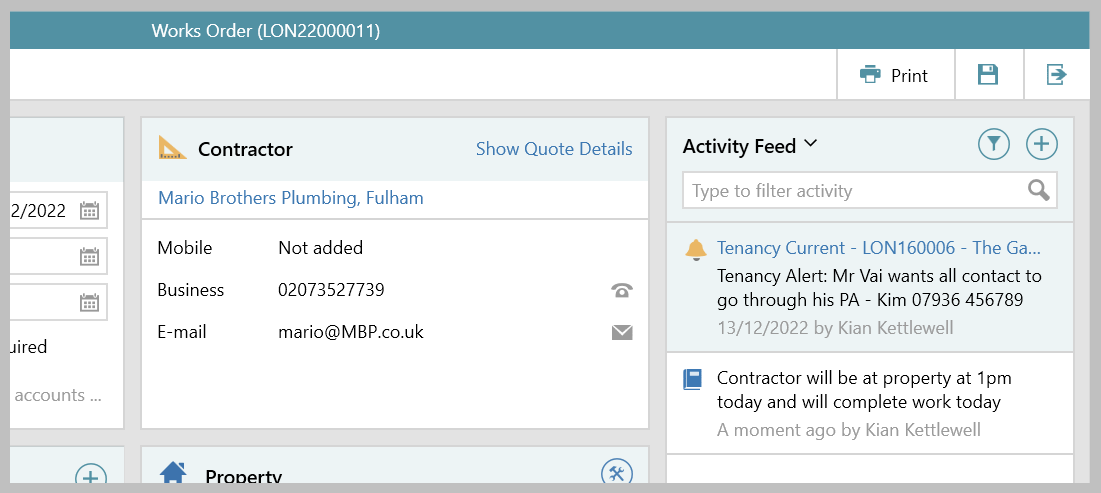 |
Related articles
-
Page:
-
Page:
-
Page:
-
Page:
-
Page: